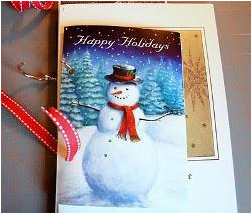
By: Ashley Connelly for The Creative Place Christmas cards make great keepsakes! This homemade book will trim your trash haul and serve as a fantastic reminder of the holiday season. Now you can relive your favorite Christmas memories all year long.

Christmas cards
Update letters
Pictures
Envelopes
Glue or adhesive (I use Tombow rolling permanent adhesive)
Scissors or a rotary cutter
Ruler
Cutting mat
Hole punch
Two pieces of Christmas-themed ribbon (several inches each, depending on how many cards you have) or two 1.5" jump rings (you can get these at Wal-Mart or Staples - if you have a ton of cards that need to go into the book, you can make two or more books or purchase 2" jump rings at Staples)
Piece of 5"x7" chipboard to serve as a sturdy back cover, and materials to make a
front cover such as chipboard and embellishments (optional)
Instructions:
1.) Separate your cards into three piles:
- Pile 1: Cards that are one-sided and do not open (like photo cards or postcards)
- Pile 2: Cards that open and do NOT have writing or a picture on the inside left panel - we will be cutting these and covering up the inside left panel.
- Pile 3: Cards that open and DO have writing or a picture on the inside left panel - these are ones that you do NOT want to cut or cover up any part of the card. These will go into the book as they are.

2.) Take the cards in the second pile (that you do want to cut) and cut off the spine of each card, so as to separate them into two different pieces.


Finish binding.
Find thousands of free projects, tips, tutorials and more at www.AllFreeChristmasCrafts.com

No comments:
Post a Comment